B3 Slideshows
Download PDF Version
1. Introduction
Slideshows are a great way of showcasing your images in a stylish and professional way. By automatically moving from one image to another, users can see a variety of your work without having to do anything. Our system couples some excellent slideshow designs with easy-to-use and flexible functionality. In this guide we show you how to:
Convert the main image panel on your home page into a slideshow.
Understand the different styles of slideshow available.
Create a new section just for a slideshow.
Add a slideshow to just about anywhere on your website.
Adjust your slideshow settings, such as the speed the images move from one to the other or whether to show the images in a random order, etc.
2. Converting the main images on your home page to a slideshow
If you would like the main images on your Home page to work as a slideshow, it’s easy to set one up. Firstly, you must ensure that you have more than one image assigned to your home page. This is done in the respective image record by selecting Home page under the Image sets field. Tip: Use similarly shaped images on your home page, preferably landscapes with virtually identical image sizes. A combination of portraits and landscapes can really mess the layout up.
Now go to your Home page section: Content Sections Click edit against your Home page record (the pencil icon at the end) Scroll down until you see the fields below Select the Image mode you would like, usually Slideshow. SAVE and then Preview.
3. The different Slideshow styles
Image mode is the type of slideshow you can have. Image style scheme is the different styles within that type of slideshow. The four Image display modes are as follows:
Standard. This shows a single image on the home page that doesn't change
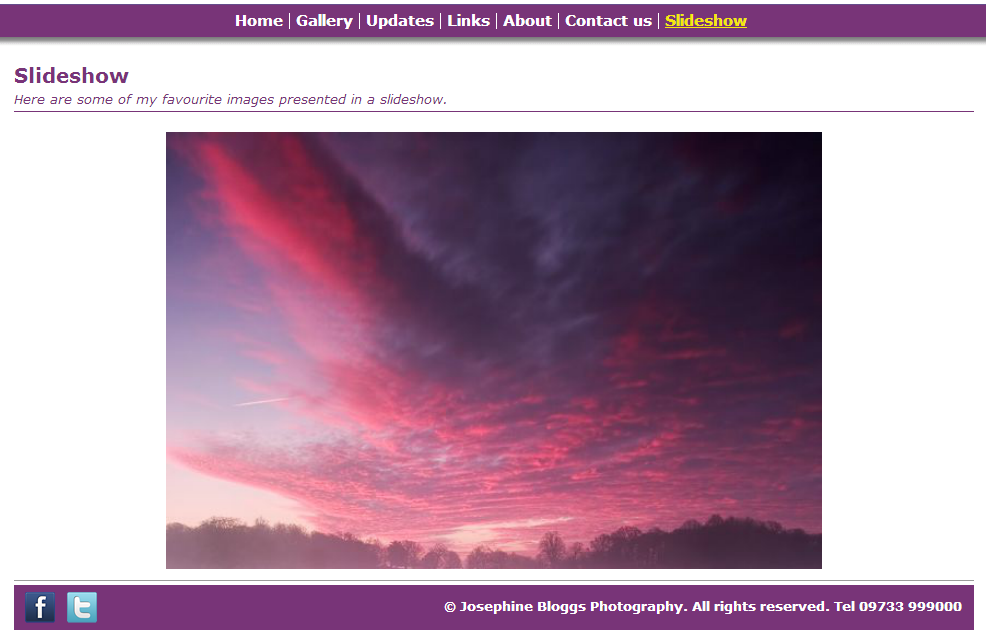
Slideshow. Rotating images with optional rollover information.
Spacegallery. This is a slightly different style where the user clicks through a ‘queue’ of images presented in a quirky but stylish way. There are no different style options for this.
4. Creating a section just to show slideshows
You can also have a dedicated section with its own slideshow. This can be a really effective way of showcasing your best work and is easy to set up. There are four stages.
Stage I: Create an Image set So that the system knows which images to apply to your slideshow, you need to set up an Image set. Go to Images/Galleries Image sets Click on New Enter a name for your own reference, eg Section slideshow SAVE.
Stage II: Assign some images to the Image set Now you need to tell the system which images you would like in the slideshow by assigning them to the Image set you have just set up. This is done by going to the respective Image record There is a field called Image set Click on the blank box and a list of image sets appears Click on your Slideshow image set SAVE. It may be worth adding a few at this stage and coming back to it later to add some more.
Stage III: Creating the Section You can have a slideshow just about anywhere in your website (something we cover in the next section), but for a dedicated slideshow section you can use a Slideshow section. So go to Content Sections Click on Add new section Select type Slideshow Name it something such as Slideshow and add some text for the introduction if you want.
Ensure your new image set is selected.
Stage IV: Styling the slideshow
By default, your slideshow will have no controls and will only rotate on click. To change this, on the “content” tab for the section, edit the slideshow section and select a style scheme.
“Slideshow with controls” is a good option.
You can also opt to show the information panels. This is the caption and for sale information (if available).
5. Having a slideshow on any part of your site
It is also possible to have a slideshow on just about any part of your site. Exact positioning can vary according to what type of section you are in and the position chosen, so it’s worth trying out a few. We cover this in more detail in Cliktips Guide A1 Other Content.
To create a slideshow, go to Content Other content Click on Add content item Select type Image / slideshow Name it for your own reference Click on ADD CONTENT ITEM At the next screen, these are the following fields you need to complete.
Apply to sections. Select Only show on the sections selected.
Sections. Click on the field and select the Section you want it to appear on.
Position. Select the position Main column (bottom). You can try other positions but this is the one we have found to work best in this context.
Images to display. Select Image set.
Image set. Select the Image set you created for the slideshow.
Image mode and Style scheme. Select what type of slideshow you would like, see 3. above.
Show slideshow panels. You can optionally show the photo information in a rollover panel.
Show slideshow controls. Likewise for the forward/back controls.
SAVE and Preview.
6. Adjusting your slideshow settings
6.1 How to find your settings menu
Using Preview edit To adjust the slideshow settings Preview yor site and navigate to your slideshow. Click on the Edit button in the top left corner Click anywhere on your slideshow A pop-up box will appear.
6.2 Amending your settings
Expand the Slideshow/space gallery settings branch and click on “Slideshow settings”.
These are some of the settings you can aemnd
Animation timeout. The time to wait before the image starts moving to the next one. To change this, click on edit and enter a figure in mili-seconds, ms (there are 1,000ms to a second).
Animation transition time. How long the transition takes once the live image starts to change to the next one.
Stop on hover. If you select Yes then the slideshow will stop when your users hover their mouse over the image that is being displayed.
Use keyboard controls. If you select Yes then instead of the slideshow automatically moving from one image to the next, your users can use the Left and Right arrow buttons on their keyboard to scroll through them.
Randomise first image. Randomises the image which appears first in the slideshow, then proceeds in the same order.
Randomise all images. Always starts with the same image and then randomises the remainder. Use the Sort order field in the respective image record to specify the sort order.
Other settings are avaliable in Advanced
Animation initial delay. This relates to your first image only. Here you can set it to last a bit longer than the others.
