Stage I Getting started and choosing a template
Getting Started
1. Introduction
Welcome to our User Guide, broken down into five easy stages to help you create your own website in a matter of hours. This guide is complemented by our Cliktips Guides, which cover more detailed and specific aspects should you need them and which we refer to from time to time. May we wish you every success in building your website!
The Clikpic Team
PS Don’t forget, help us at hand. Just raise a ticket or email us at support@clikpic.com.
2. Getting Started
2.1 The Admin system
The Admin system is where you build and edit your site. It can be found at www.clikpic.com/admin - definitely worth bookmarking. We frequently refer to the Admin system and the Admin menu, so it’s important you’re familiar with these terms.
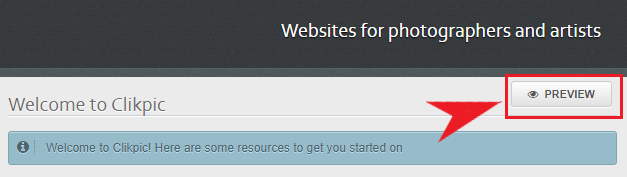
2.2 Preview your site
To view your site at any time, click on Preview. You will see the first stage of your website including the Site name you entered when you registered.
3. Choosing a template style
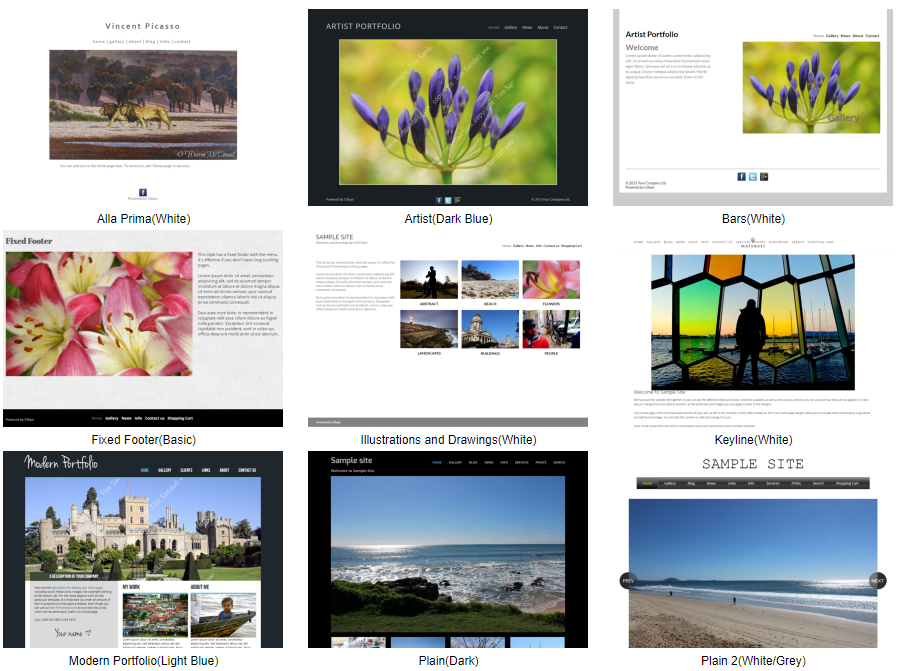
The first stage of building your site is to choose a template style. We have a range of templates to choose from which you can view and select by clicking on Styling > Site styles.
Browse the list of available styles, and rollover an image for a better preview. You can see a full size preview by clicking “View live demo”.
Once you've chosen your style, click “Use this template”. A pop-up will appear asking you to confirm your choice. Click “OK” and then “OK” again.
You can always change from one template style to another at a later stage.
Now you have chosen your style, click “Preview” to view your site.
4. Your site details
To edit any details about your site, go to Site management > Site details.
Here you can change your site name and opt to publicise your site. We strongly recommend ticking this option so your site will appear in search engines.
5. Refreshing your browser
Whenever you make a change to your website, you may find that you can’t see that change either in Preview or on your live site. This is because your browser (eg Internet Explorer, Google Chrome, etc) has ‘remembered’ the earlier version.

To get round this, all you have to do is click on your ‘Refresh’ button, the curly arrow. This is usually found at the top of your screen, next to the web address. Alternatively press Control + F5 (Mac users: Apple + R). You will need to do this a lot, so do familiarise yourself with it! This process is also known as ‘Reloading the page.’
6. Validate your email address
FInally, it’s really important that you validate your email address with us, so we can notify you of system changes, renewal reminders, etc. Please add support@clikpic.com to your address book in your email system. Please note we do not pass your details on to any third party.
7. The next stage
Now that you have chosen a template the next stage is to create some galleries and upload your images: Stage II: Creating galleries and uploading images.
