A6 Adding tables
Download PDF Version
1. Introduction
Our system allows you to create tables on your website by copying data from a spreadsheet into your admin system. You can do this just about anywhere on your website. This data can be in, say, Microsoft Excel or a csv file, Google Docs, etc. You can not copy formatting from your spreadsheet, such as column width, bolded text, etc, although, our system does allow you to do some basic formatting, such as highlighting the header row. Don't forget, you can alternatively upload files to your website which your users can then download (handy for more complex files). This is covered in Cliktips Guide A10 Adding and linking to files.
2. How to copy a table into the admin system
You can copy a table into just about any part of your admin system, eg into an article or a single page section. To do this, firstly prepare your table in, say, Excel Then go to the part of the admin system where you would like the table to appear and enter the code <table> Leave a row and then enter the code </table>.

Open the table you would like to copy from and select the fields you would like to copy Paste this into the gap between the two codes. Don’t worry about how the table looks in the admin system, sometimes the columns will look out of line but they will be fine on your site Preview to see what it looks like.
3. Some basic formatting
By replacing the code <table> with one of the following codes, you can add some basic formatting to your tables.
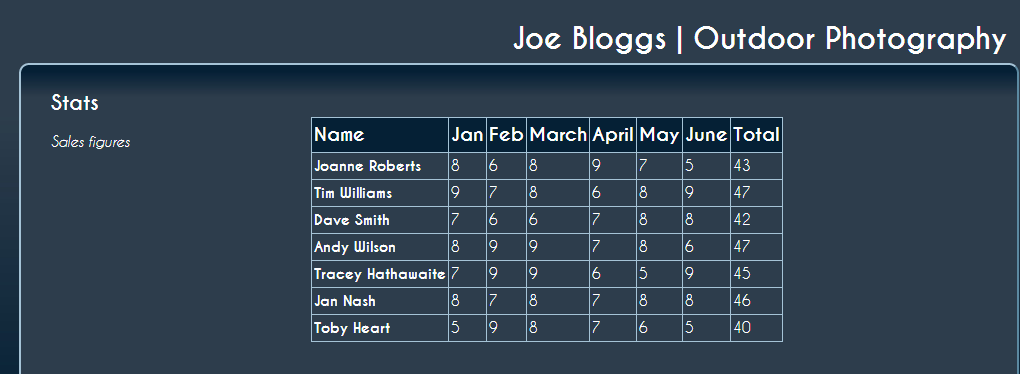
Put grid lines around the data. Replace the code <table> at the top, with this code: <table class="info">.
Make the top row a header. In other words, make the top row show in bold. Replace the code <table> at the top, with this code: <table class="info" header="1">
Highlight the first column. In other words, show the first column in bold. Replace the code <table> at the top, with this code: <table class="info" header="1" firstcol="1">.
Please note, you must still make sure that the code at the bottom of your table remains as </table>.
If you copy and paste the code from this document which has speech marks (" ") you may need to re-type them, as they don’t always copy properly from a pdf or other source.
4. Updating your data
To update your table, we generally recommend that you do not edit the text in the admin system, rather go back to your original spreadsheet, edit the data there, copy it all again and paste it back into the admin system. Whilst this may seem a bit long-winded, we’ve evaluated several solutions that apparently make it possible to edit tables in a browser and none of them worked as well as doing it this way!
5. Tip putting text into a table

Users of Microsoft Word (and other word processing systems) often use the tab button to format their text into neat columns, eg when writing their CV or whenever they want to indent text. However, web admin systems – including our own – are unable to read a tab button in this way. To get round this, enter your text into a spreadsheet and then copy it into the admin system as a table. It can look really effective.
6. Advanced editing (for users familiar with html coding)
You can of course embed your own html tables in any part of your admin system in the same way as any other code – by surrounding it in <html> </html> tags. You can also format individual columns by adding <colgroup> tags. These are ignored by our system and inserted as is. Be warned, though, one unclosed tag and things will break!
A brief explanation of 'html'
If you're a bit confused why we use these funny tags and codes at the start and end of your tables, these are html tags. Many of you will be familiar with Microsoft Word, Excel or other packages where you simply select a piece of text and then click a button to make it bold or italic, etc. Or click on 'Insert table' and it creates a nice grid for you. It’s not quite so simple for websites, which need to be seen consistently across a number of browsers, such as Google Chrome, Internet Explorer, Firefox, Safari, etc.
The website creator must therefore use a common language or format that all browsers can understand and read, namely html or hypertext markup language.
So when we ask you to insert a tag or code at the start and end of your data, you are creating your own html. All of the main browsers will recognise this and your text will appear in a table when they display it.
Incidentally, if you see the term html5, this is a more recent version of html which can also be read on mobile devices such as tablets and phones.
